Thursday, May 6, 2010
Saturday, May 1, 2010
May 1st, 2010
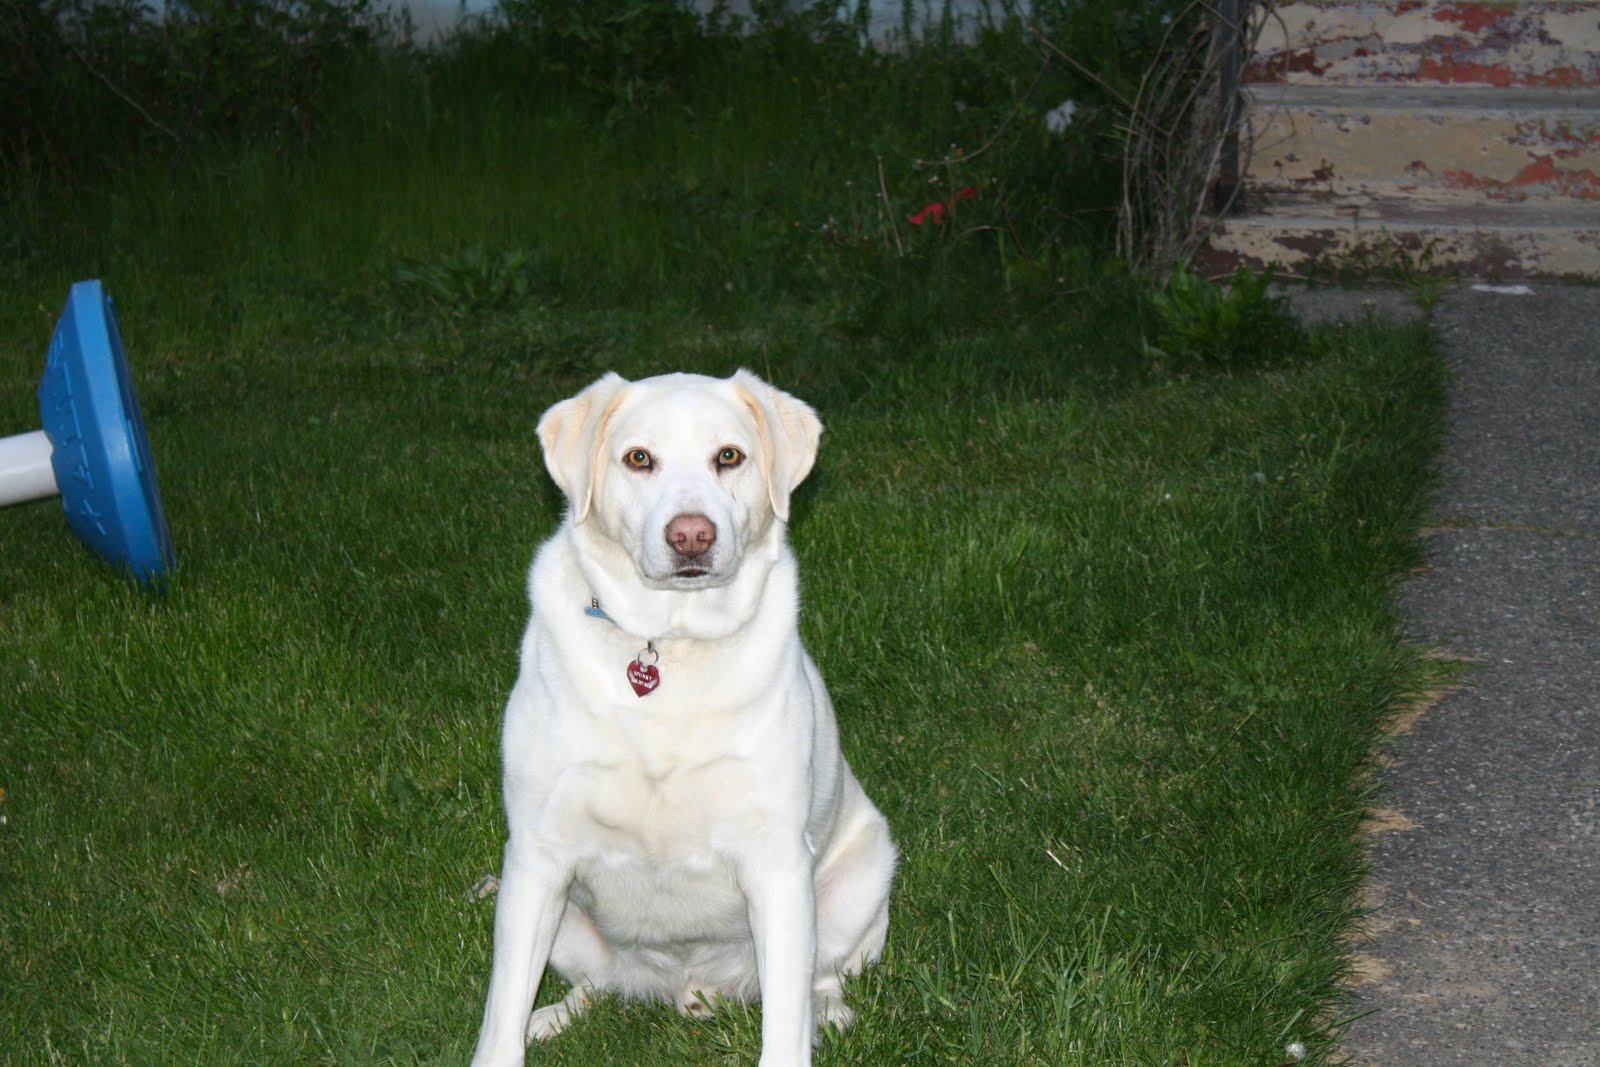
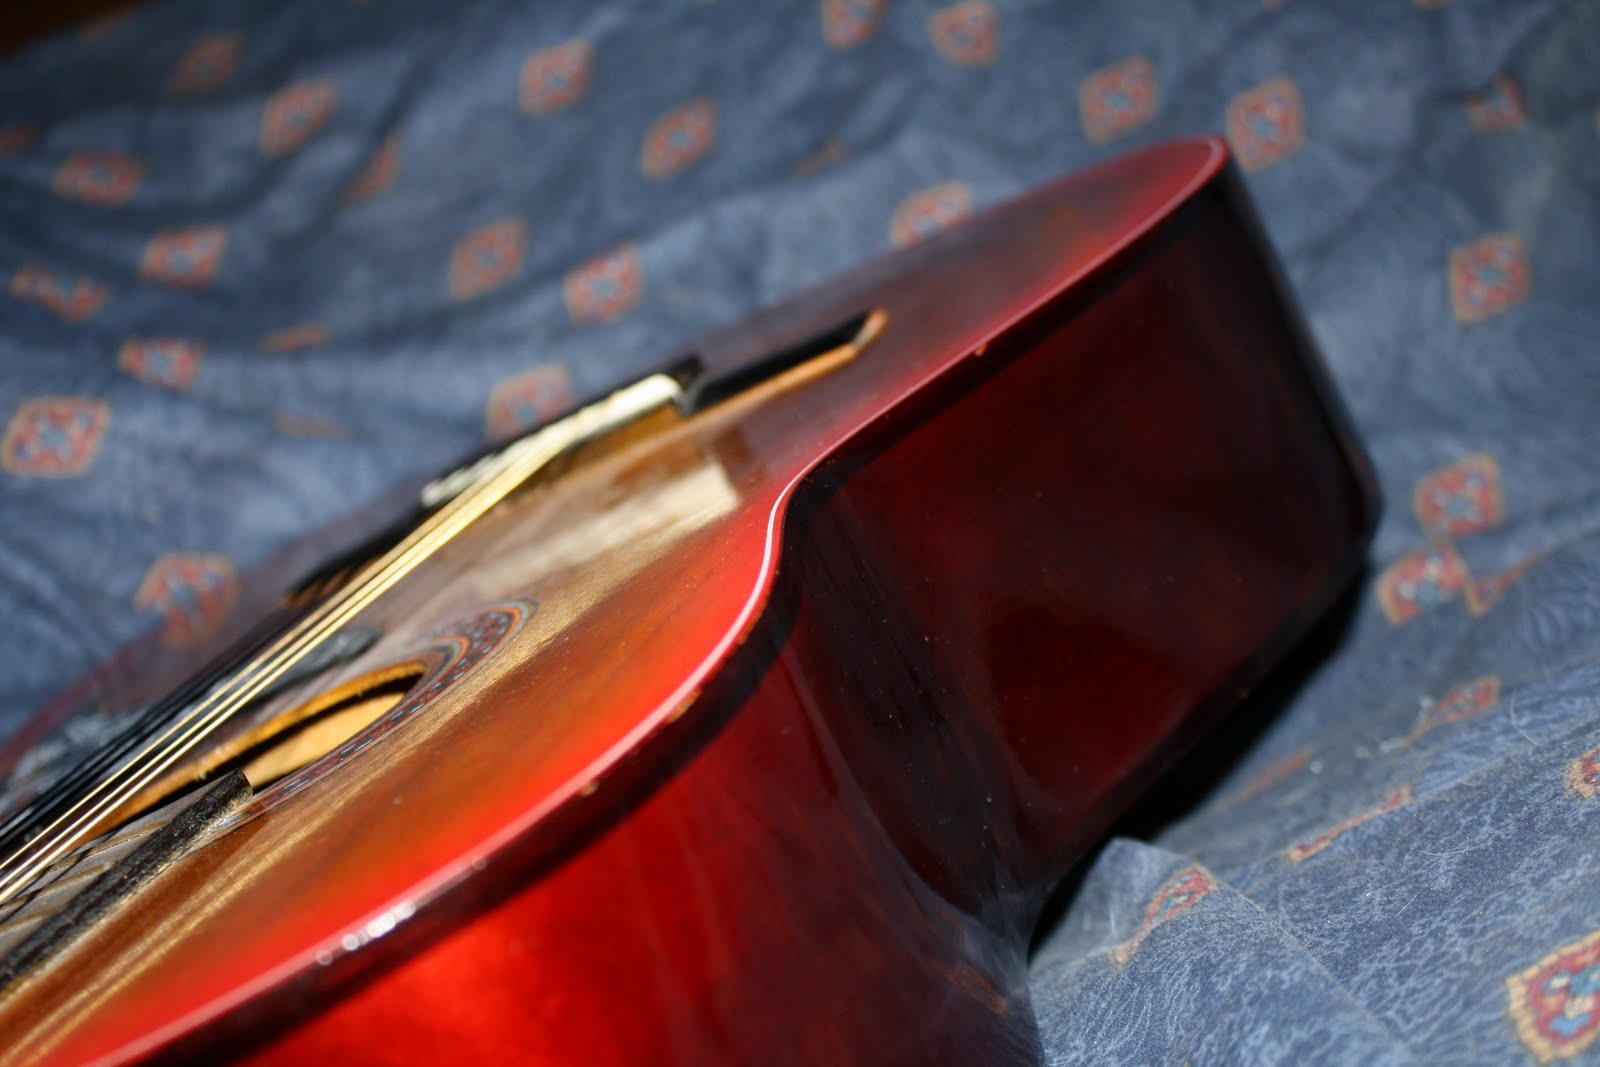
Both of these photos were actually taken yesterday, but I just now had time to post them. Click on them to seem larger.
Wednesday, April 28, 2010
Monday, April 26, 2010
Rain, Rain, GO AWAY!
The next assignment for my photography course is to do the same thing I did last time, but this time to first take all of the photos at different apertures like before, but then to follow it up by choosing the mid-range aperture and trying different shutter-speeds until I get correct exposure. I got a late start today, but it was nice weather so I figured a late afternoon journey outside would yield good photos.
When I finally went to step outside it decided to start to rain, hard. Sooo... I didn't take a photo today, but I decided to post these that I took a few days ago with my new Canon Rebel xs.
Sunday, April 25, 2010
Lesson 2, Assignment 1, Aperture- a.k.a. F-stop
The next assignment for my free online photography course has to do with aperture setting, also know as "f-stop". To summarize what the f-stop is, it has to do with controlling the size of the hole that lets in light. The smaller the number, the larger the size of the opening. Lesson 2 explains more about why this is, but basically it is a ratio of the focal length to the size of the opening. All fine and dandy, but you don't need to understand it to use f-stop. All you need to remember is that smaller f-stop numbers will let in more light because of a larger opening.
Assignment 1 of lesson 2 was, "Take a landscape photograph using each available aperture on your camera, while using a 1/60 second shutter speed for each shot, similar to what I've done in the example in this lesson. If you don't have a tripod, you can set your camera on a fence post or any other handy thing to keep it in the same place for each shot."
I have a tripod so I used it, and as the assignment instructed, my shutter speed was 1/60 for each of these shots, note that the first one is not actually just a white frame, there are some shadowy things on the right about 1/3 up from the bottom, it is just overexposed. Each subsequent photo is done with less light getting in, so less exposure each time:
Assignment 1 of lesson 2 was, "Take a landscape photograph using each available aperture on your camera, while using a 1/60 second shutter speed for each shot, similar to what I've done in the example in this lesson. If you don't have a tripod, you can set your camera on a fence post or any other handy thing to keep it in the same place for each shot."
I have a tripod so I used it, and as the assignment instructed, my shutter speed was 1/60 for each of these shots, note that the first one is not actually just a white frame, there are some shadowy things on the right about 1/3 up from the bottom, it is just overexposed. Each subsequent photo is done with less light getting in, so less exposure each time:
F/4.0
F/4.5
F/5
F/5.6
F/6.3
F/7.1
F/8.0
F/9.0
F/10.0
F/11.0
F/13.0
F/14.0
F/16.0
F/18.0
F/20.0
F/22
F/25
I think the last two come the closest to correct exposure, but I think a faster shutter speed would have helped a little too, the sky still seems awfully bright. I wish now that I had taken another photo on full auto, to see what the camera "thought" would make correct exposure. It is too late now, the lighting conditions have changed, but it would have been interesting to compare, with future attempts at manual exposure, I'll try to remember to compare an auto exposure.
Saturday, April 24, 2010
Lesson 1, Assignment 2
Well, I've decided to move on to assignment 2 of my photography course.
Here were the directions for assignment 2 of lesson 1:
Students will take pictures of a subject from various viewpoints (near, far, from above, below, behind). Creativity is encouraged. Likewise, post your best two or three photos of the subject online and send me a link, along with an explanation of which you think is most visually appealing and why.
Here are my best three photos of my subject, starting with the first one, which could also count toward assignment 1, because I think it makes a nice abstract image as well. I like it because the curved line arches through the picture and draws my eye in, and the diagonal across the bottom definitely suggests that there is more to see beyond the picture.
The second one I like because the strings create a diagonal from corner to corner, giving the triangular element. At the same time the pick guard and the mouth of the guitar provide lines that curve up into the photo reminiscent of the golden mean, the lines then circle all the way back around, leading the eye back to where it started. Combined with the strings going up to the top corner, these elements ensure that your eye explores the whole picture.
The third one was hard to pick, there were a few I liked, I settled on this one because I liked the curved side of the guitar against the blue background, and felt that the photo was well balanced with some negative space in it.
Well, now the rest of the photos I am just posting to show that I did indeed follow the directions on this project, taking pictures from every angle I could think of.
Subscribe to:
Posts (Atom)